
Baklava Rolls
Baklava Rolls look incredibly complex but they’re incredibly easy to make. Micro-thin layers of crispy buttery filo pastry with nuts in a fragrant syrup
authentic Egyptian recipes
Baklava Rolls look incredibly complex but they’re incredibly easy to make. Micro-thin layers of crispy buttery filo pastry with nuts in a fragrant syrup
Are you taste buds ready to dance? They will with these delicious new recipes from Secrets of a Cairo Kitchen.
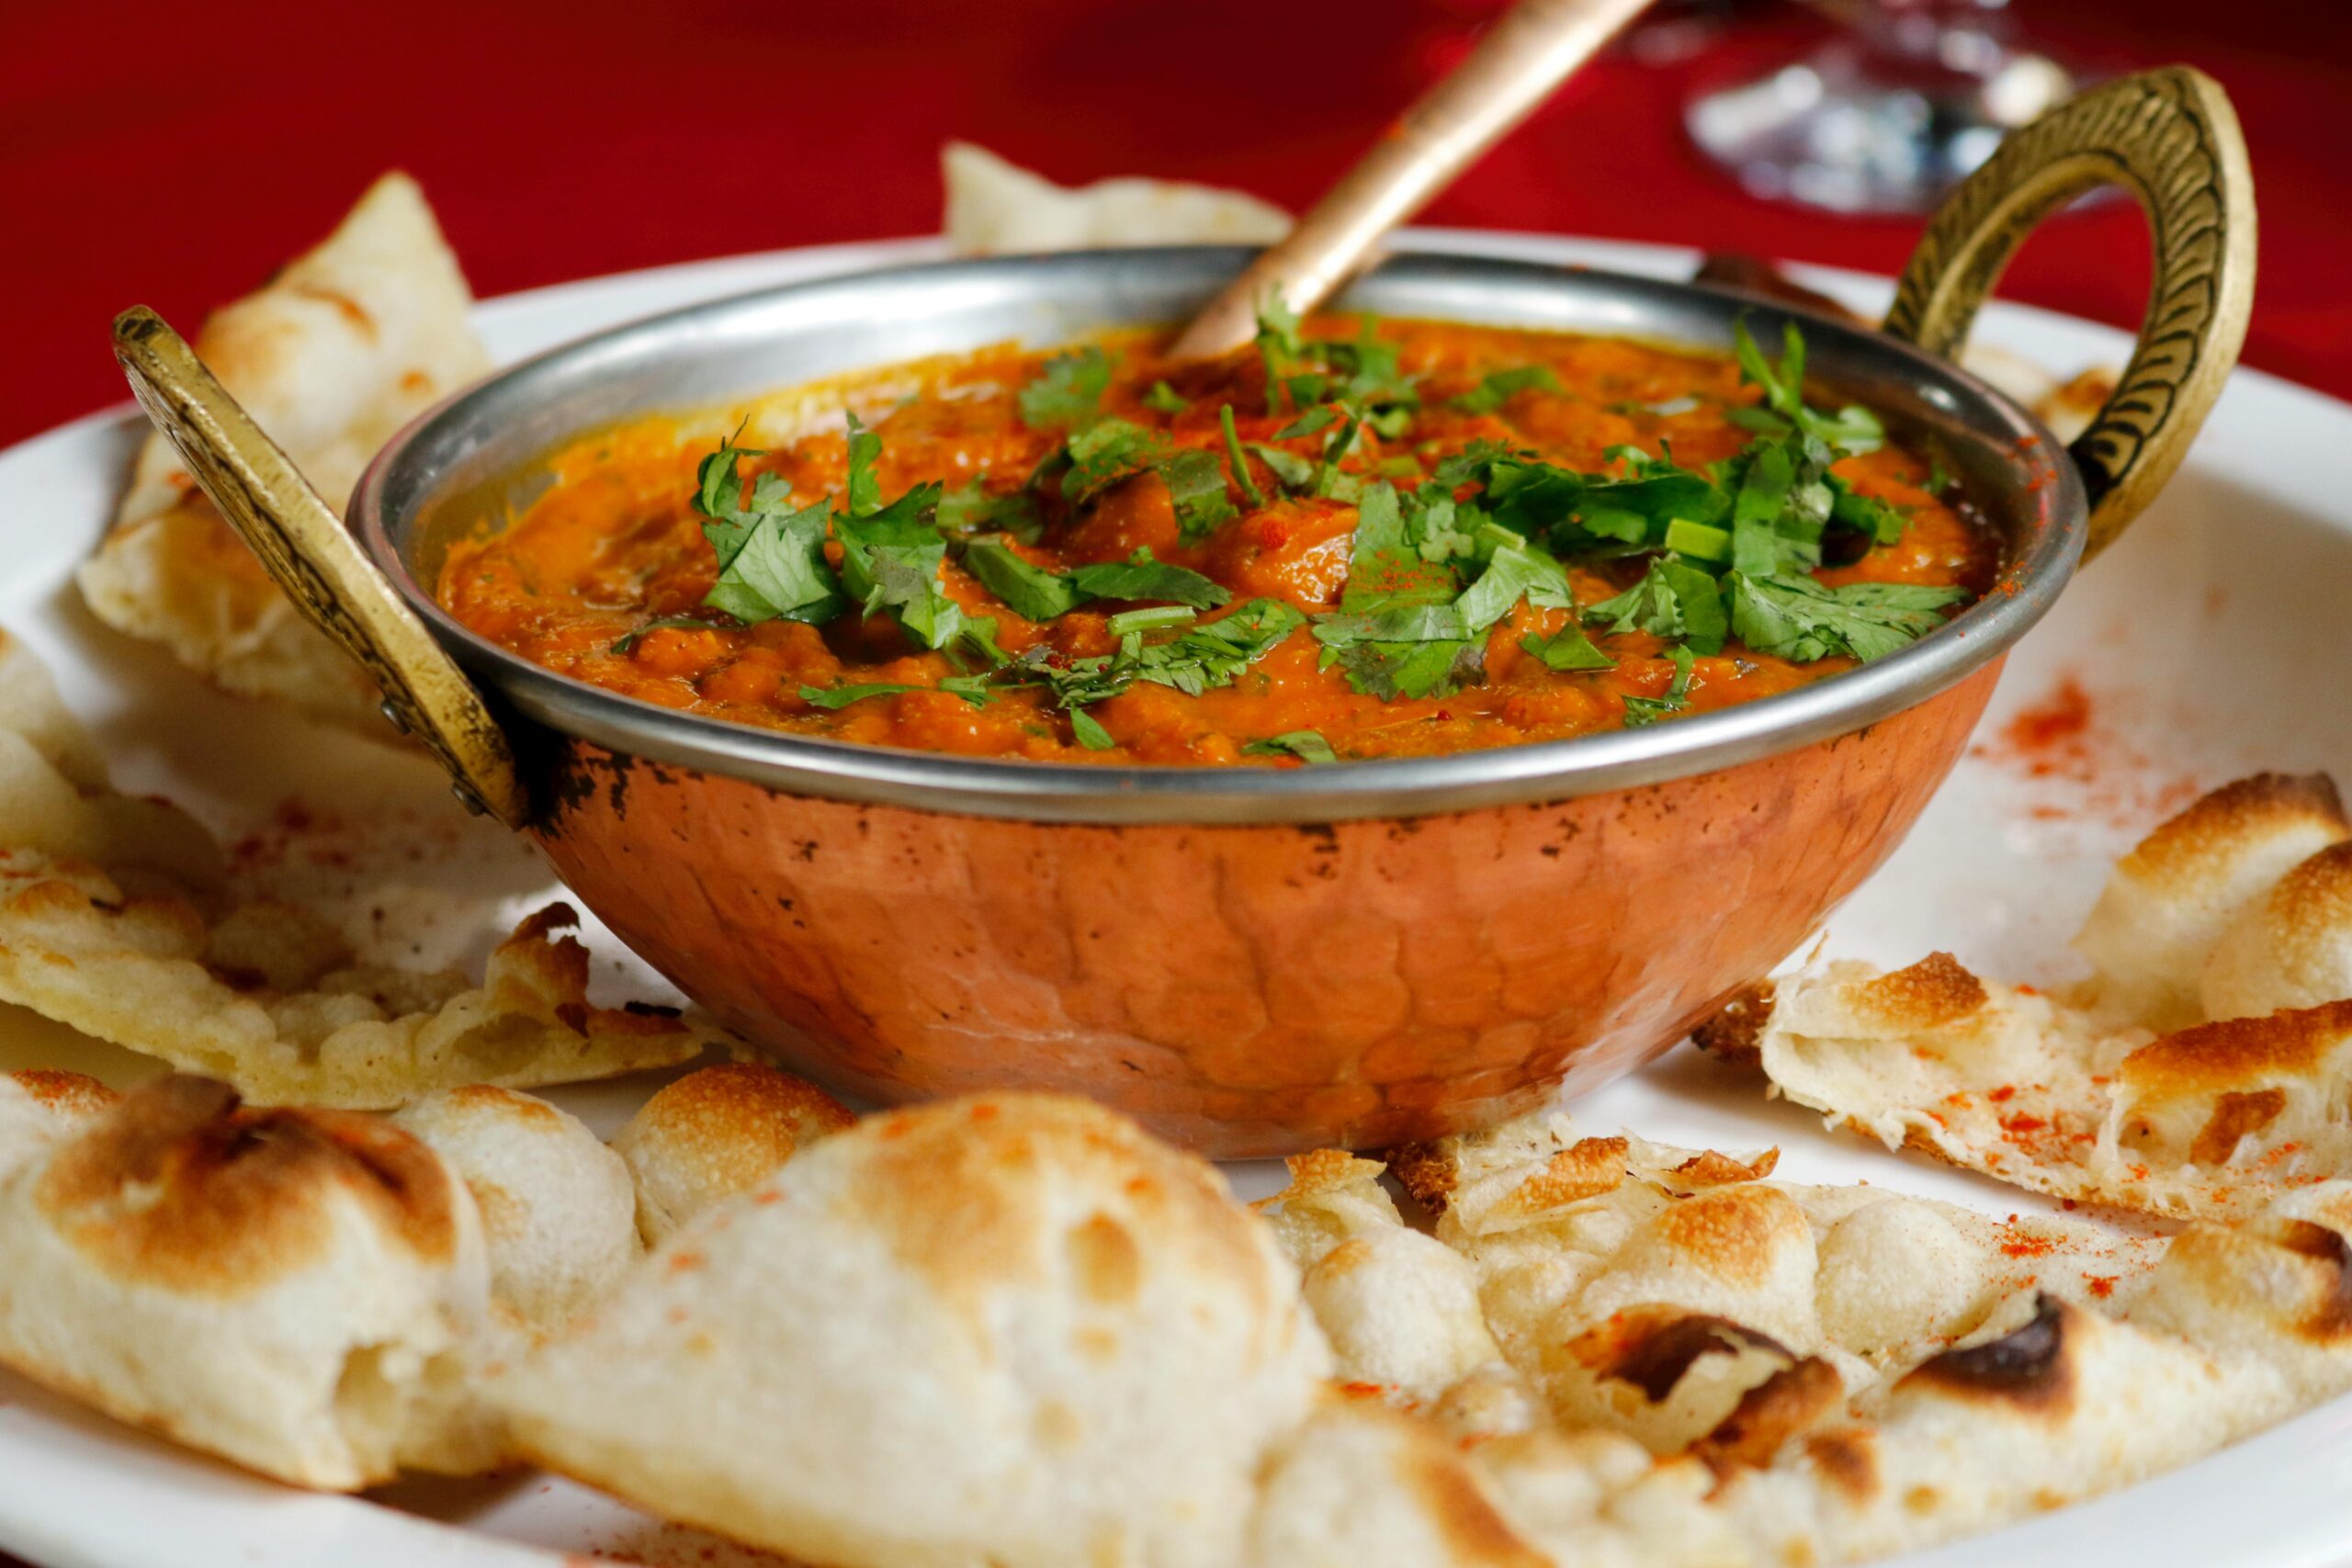
Red Pepper and Walnut Dip – Muhammara just has amazing flavours. The pomegranate molasses with its sweet yet tangy sour flavour is so good and when it’s mixed with the sweetness of red peppers it’s wonderful. And then, the walnuts simply takes them to another level. The slight kick of chilli adds a tingle on the taste buds & just completes it.
Muhammara, Red Pepper and Walnut Dip is sensational. It’s definitely one of my favourite dips ever.
There are many people who may not have come across pomegranate molasses before. Also with the subtle kick of chilli, Muhammara – Red Pepper and Walnut dip is a dish that has people sitting up and taking notice.
The thing is we’re all used to having the regular Houmous and Baba Ghanoush dips. But Red Pepper and Walnut Dip is something much more out of the ordinary. So if you want to get Brownie Points for bringing something new to the table, I would suggest that would be a great choice.
The first time I had it was at my daughter’s wedding. They did all the catering themselves, with the help of different friends and family members who were delegated different responsibilities. It was wonderful, with everyone coming together to support them.
It was a Middle Eastern type buffet with such a vast array of dishes. All the food was amazing. As I said one of the dips on offer was this Red Pepper and Walnut Dip – Muhammara. It was the first time that many people had tried it, myself included, and everyone was saying things like:-
“Wow, what IS this?”, ” This is fantastic”, “What’s in this dip, it’s wonderful?”
All really positive comments. So yes, like I said I highly recommend it.
The wonderful thing is that this epic delight is so quick and ridiculously easy to make.
This recipe uses a jar of ready roasted red peppers for convenience. If you prefer, you could char-grill your own red peppers you will need about 4 or 5 large ripe red Bell Peppers. Check out my recipe for Roasted Red Pepper.
You can buy ready-made Muhammara in some delicatessens. But the ones I’ve tried are really spicy and have much more chilli than this recipe. Others have tomato puree in them which just overwhelms all the other flavours and just ruins it for me. Besides as I said this is so easy to make it just seems crazy not to make it yourself.
Tear up the bread and put it into a food processor. Blitz it until it forms fine breadcrumbs.
Add the walnuts, paprika, cumin, and chilli flakes and process until finely chopped.
Drain the red peppers. Roughly chop them and add them to the food processor. Also add the lemon juice, and pomegranate molasses. Process until the mixture becomes a smooth paste.
With the processor still running, slowly pour in the oil, through the feed tube in the lid and process until combined.
Season with salt and pepper.
Your delicious dip is now ready to serve.
Serve in a wide shallow dish.
The vibrant green of the fresh herbs is a great garnish for this dip should you choose to use it. It contrasts so well with the beautiful garnet colour of the dip itself.
Serve with warm flat breads.
I hope you love this dip as much as I do. Let me know what you think
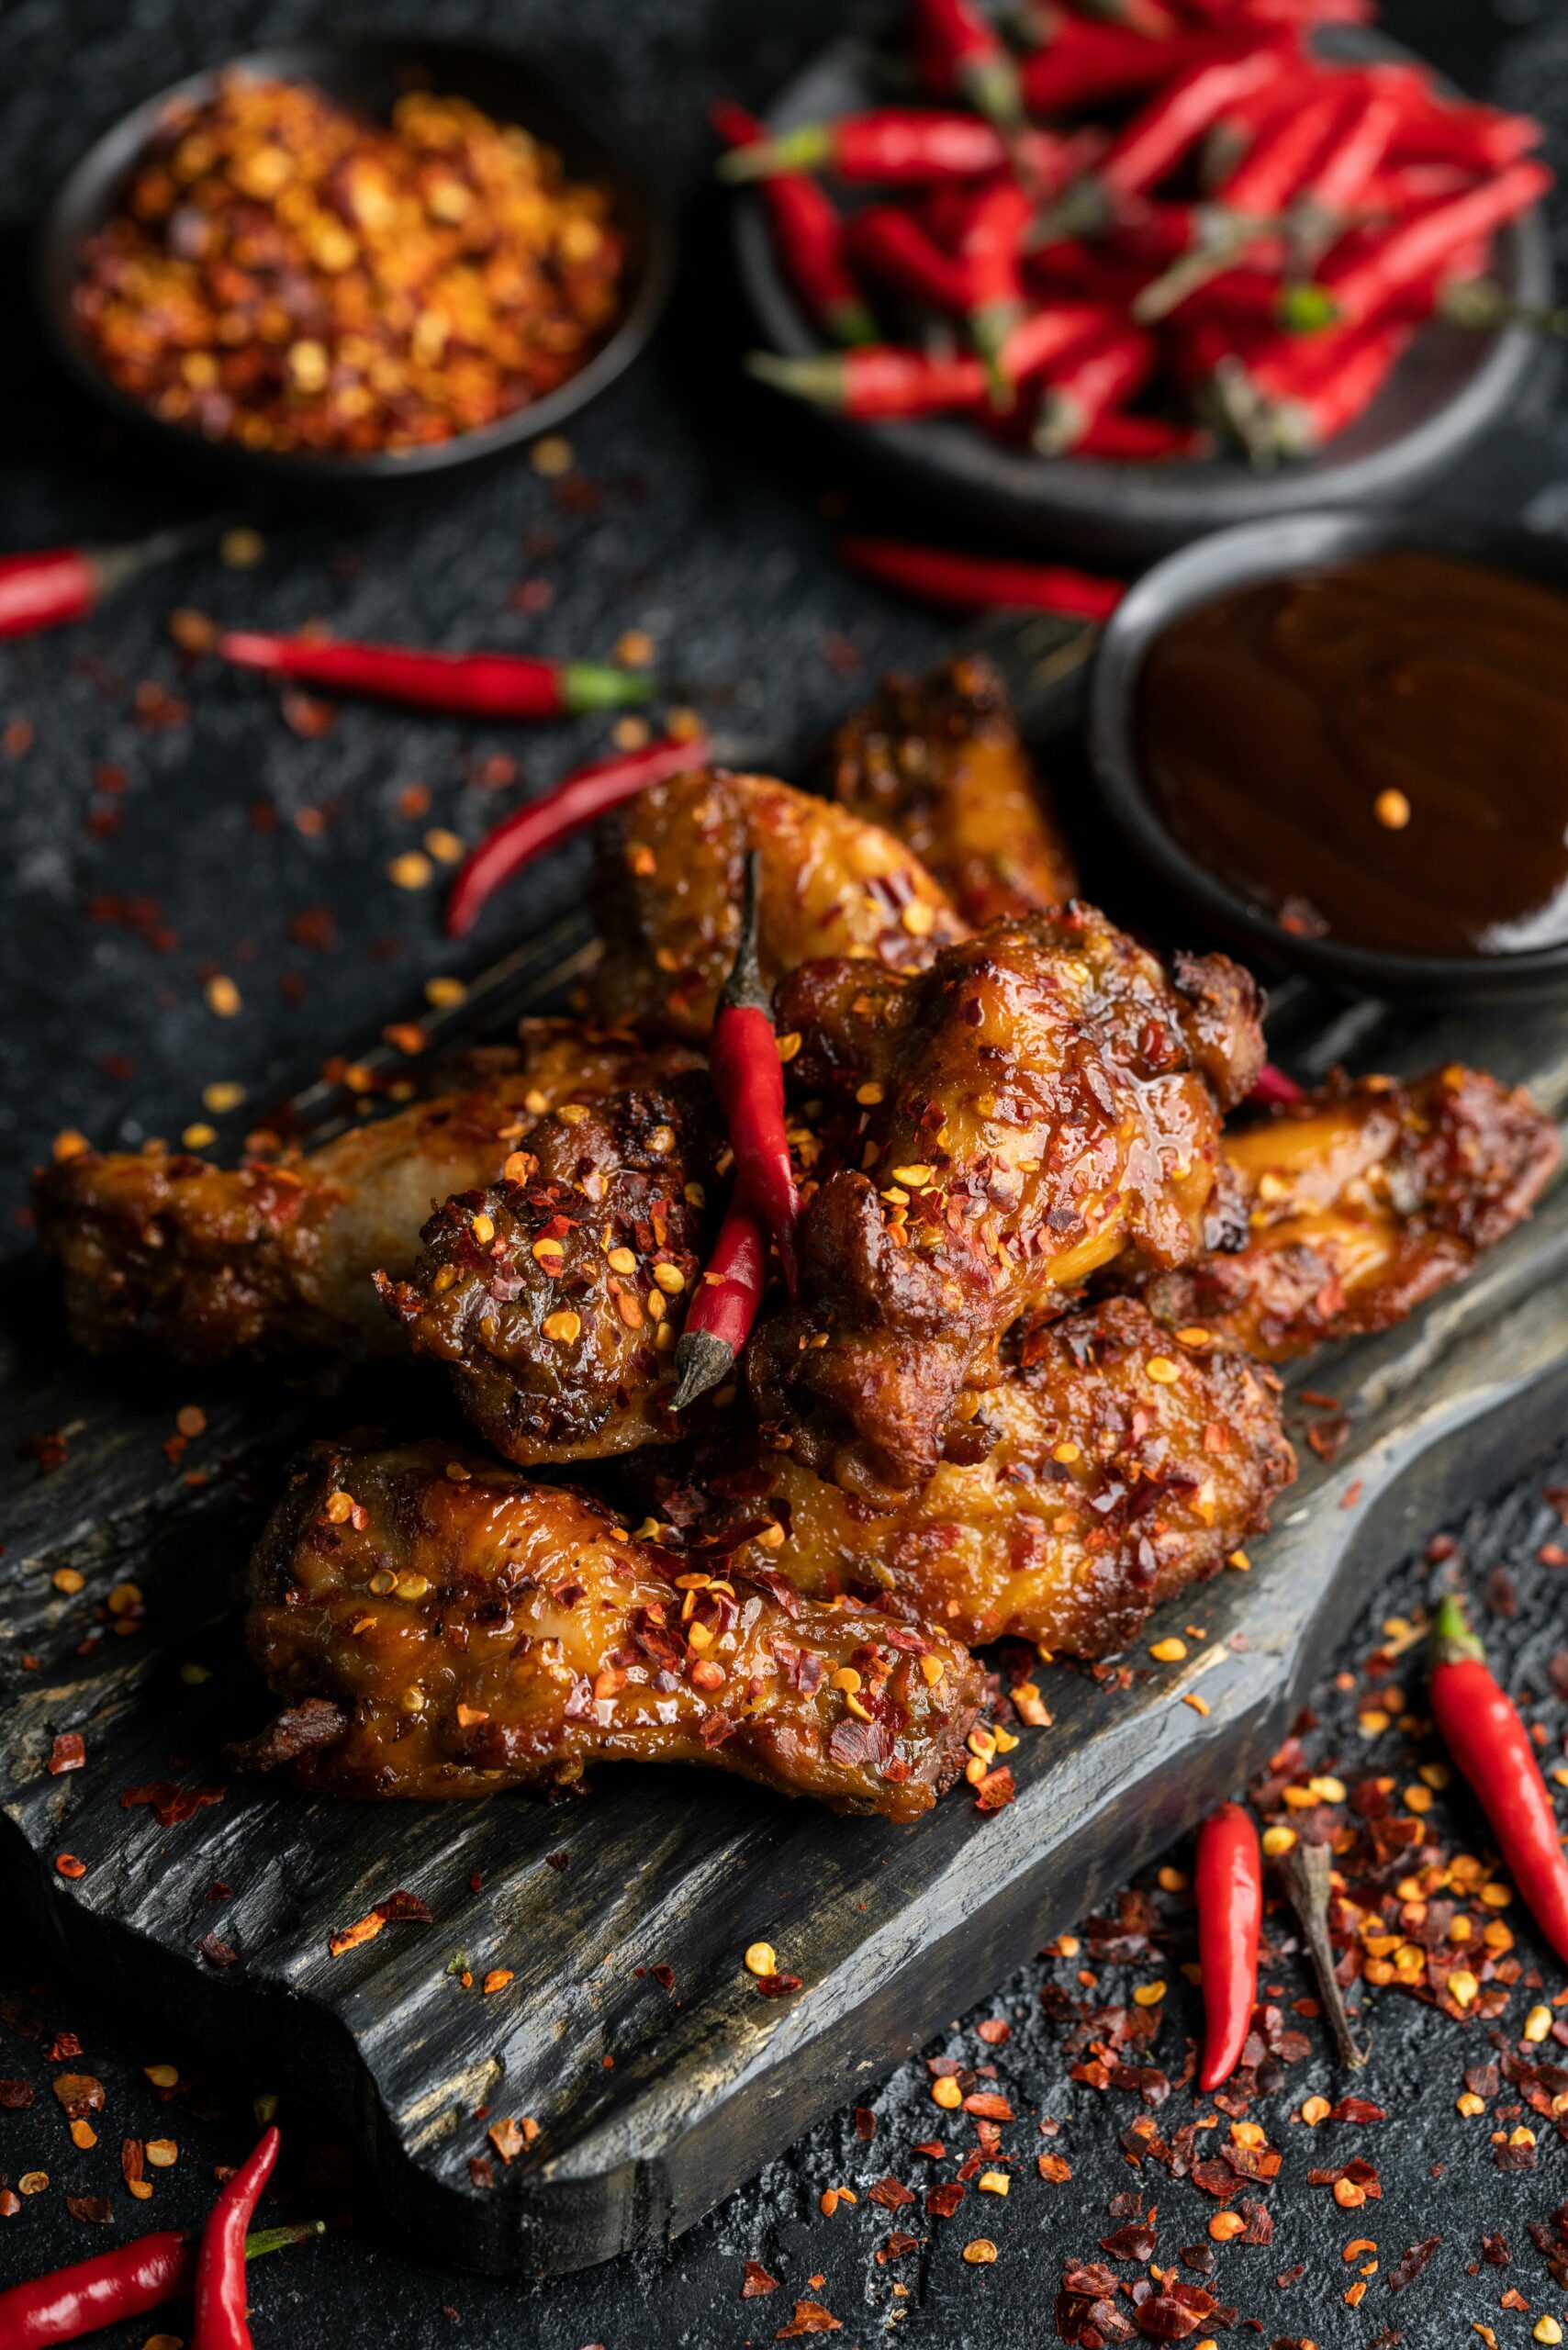
Harissa Chicken: Spiced to perfection. The multiple layers of flavours of Harissa Chicken will simply blow you away. Get the recipe here.

Chicken Over Potato Layers Chicken Over Potato Layers is a sensational way to enjoy chicken. The seasoned butter bastes the chicken and then the juices run down into the potatoes giving them phenomenal flavour. You’ll need a deep oven-proof dish or roasting tray measuring about …

Halabissah is one of Egypt’s favourite street foods. It’s sold by street vendors at times of celebrations, such as Eid. It’s truly delicious, and makes your taste buds celebrate too.
It’s made using a tasty beef stock; clear, un-thickened stock – you could use chicken or vegetable stock if you preferred. Its ingredients include chickpeas, along with raw diced tomato. This incredible delight is then brought to life with chilli and lemon juice.
This combination makes it so much more than just ‘soup’. It’s bursting with flavour and makes your taste buds dance the fandango. The stock is really tasty but it’s the citrus burst from the lemon and heat from the chilli that makes your eyes sparkle and your taste buds tingle.
The other amazing thing that makes Halabissah stand out from the crowd is the unmistakeable way it’s served. What other soup is served in a tall glass with a straw? I can’t imagine where that idea came from, but the idea stuck and this is how it’s always served.
*It’s worth mentioning that this is one of the very few things served in Egypt which doesn’t have bread as an accompaniment.
I must thank my lovely niece, Afaf, for this recipe. She is the one who regularly provides this wonderful snack by the gallon, for big family gatherings.
I do hope you’ll try this recipe. If nothing else, it will definitely be an ice-breaker and a conversation point when you have friends round, simply because of the way it’s served.
The fact that it tastes great will then just be an added bonus.
Let me know how it goes.
Tahini; this smooth and creamy sesame sauce, with a lemony, garlic zing, is the condiment of choice all over the Arab world. Used for drizzling over tasty grilled meat or salads, or as a dip.
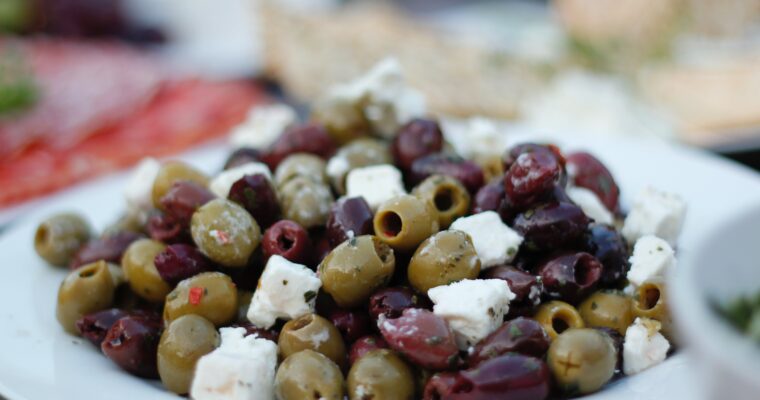
Marinated olives Marinated Olives Marinated olives are always popular whether it’s as part of a mezze or as a side dish or a snack. They’re a bit salty and a little bit spicy. And with the garlic and herbs the flavours are just great. Are …
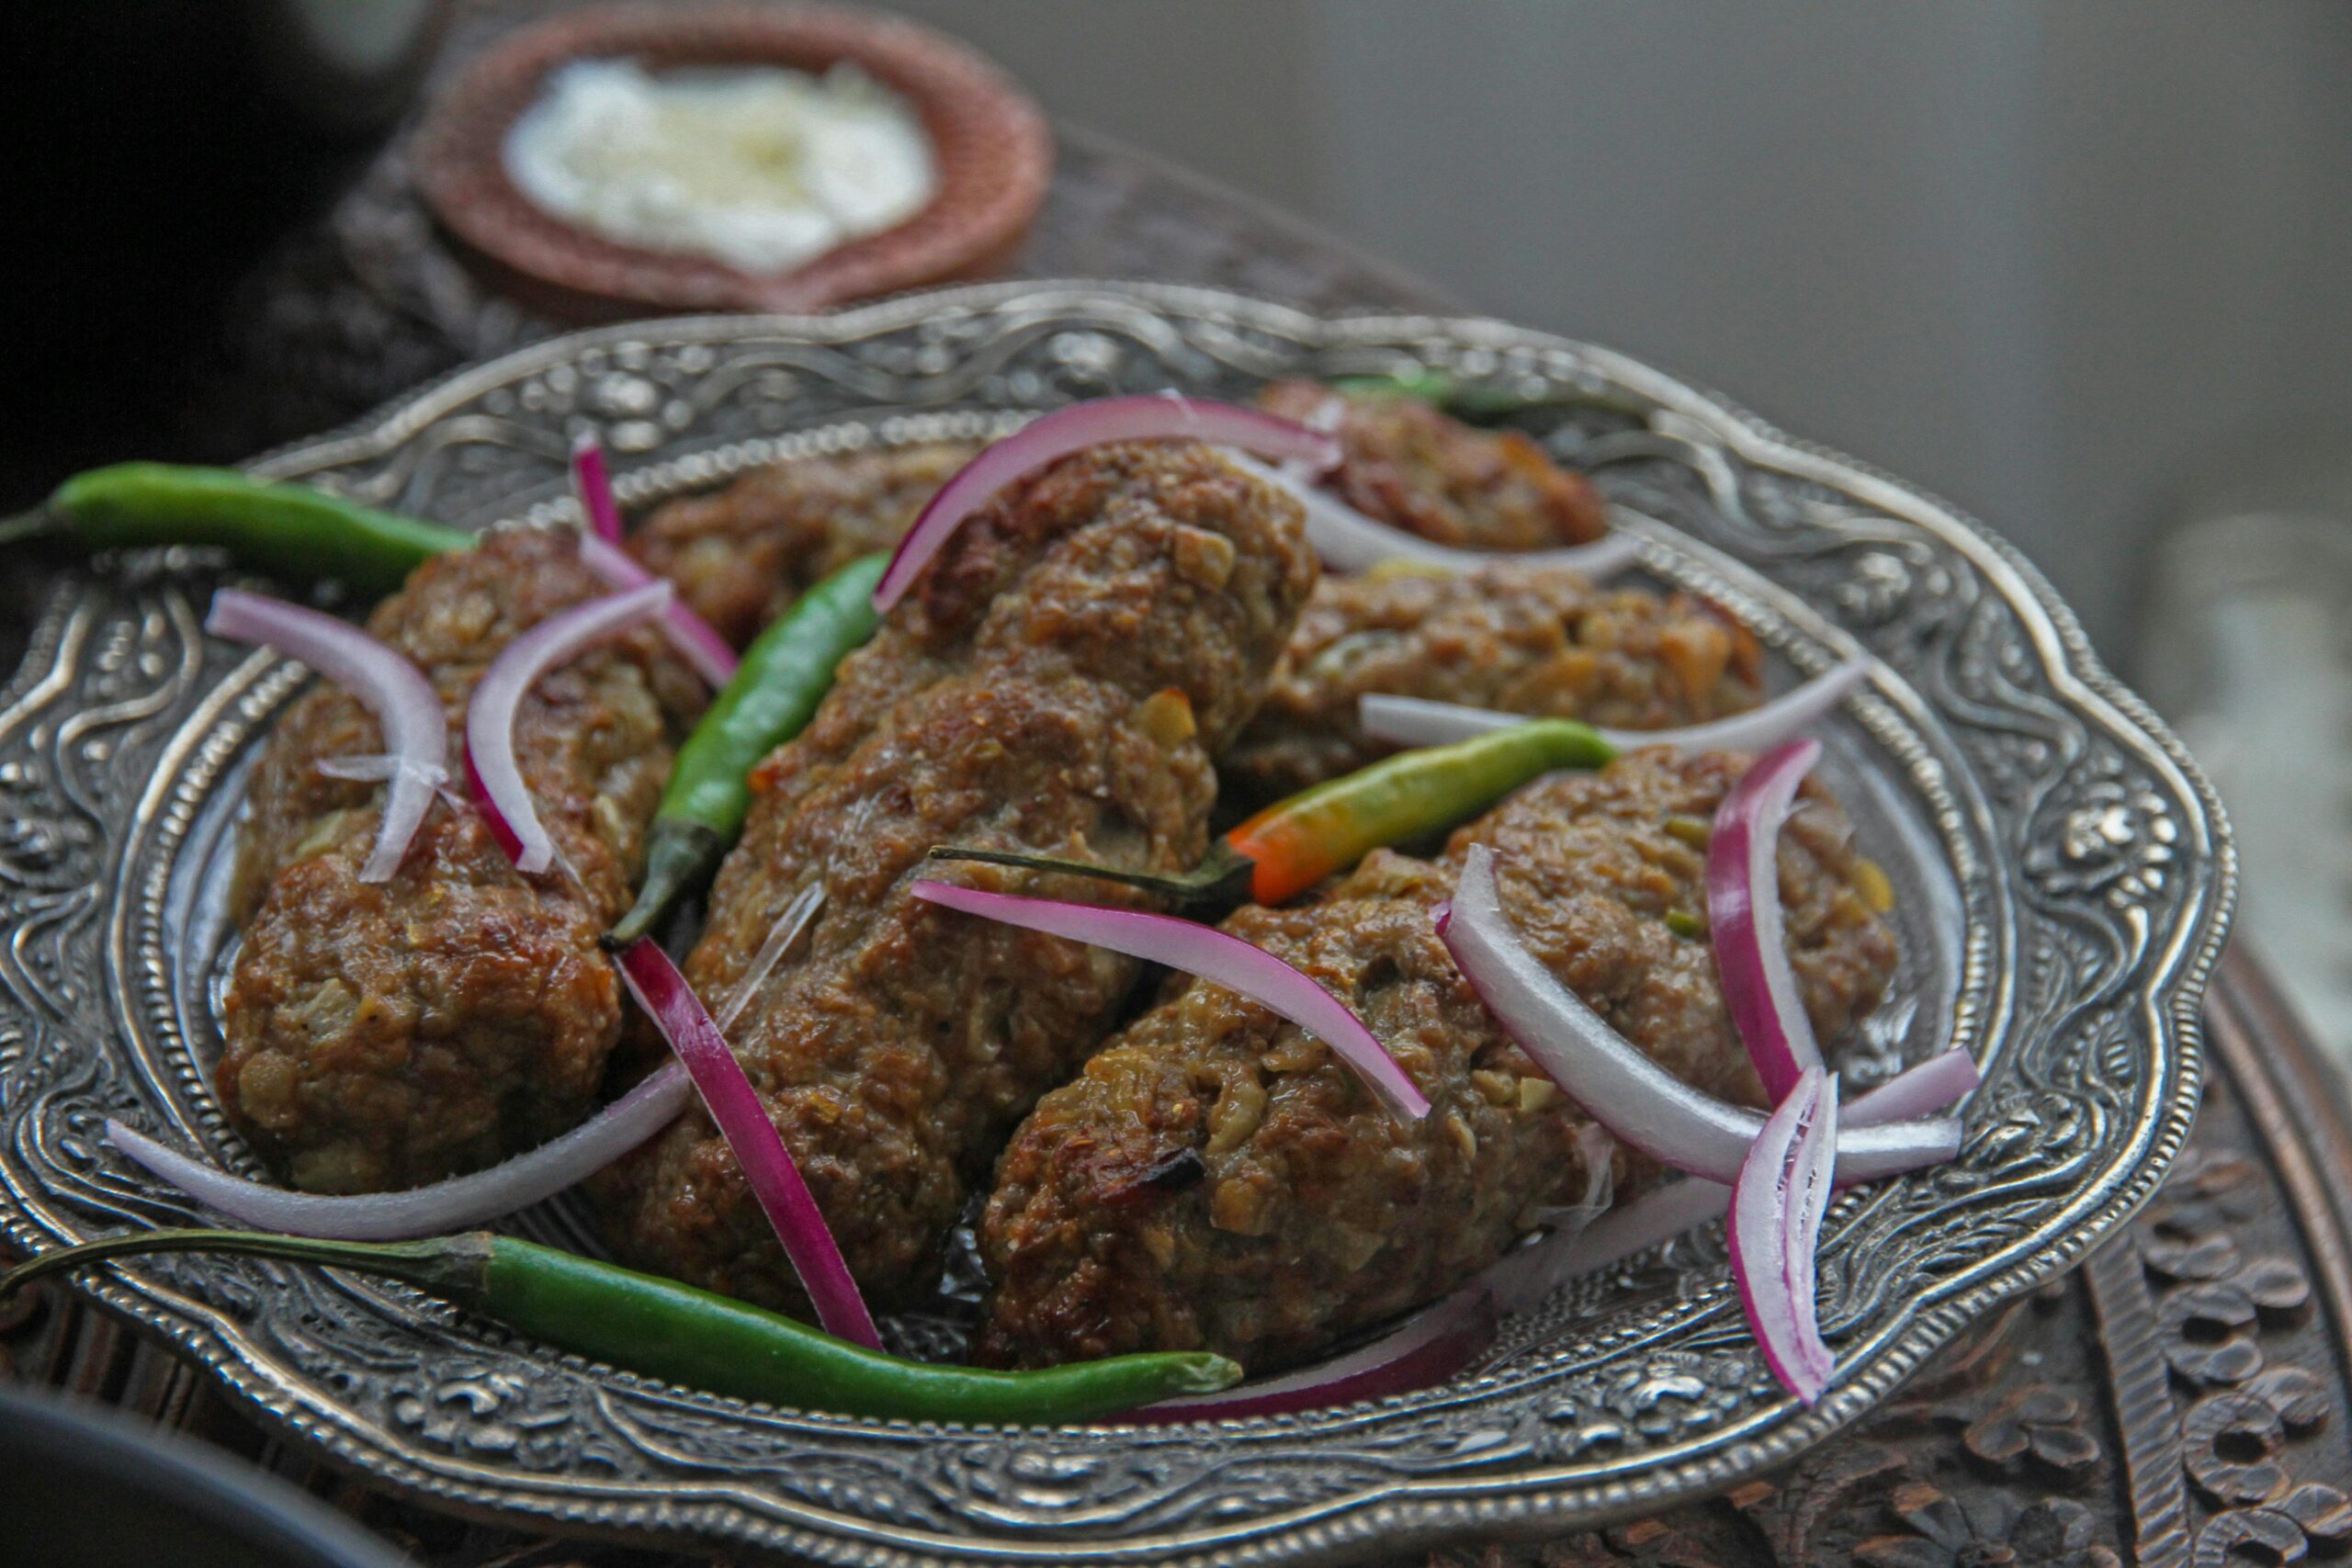
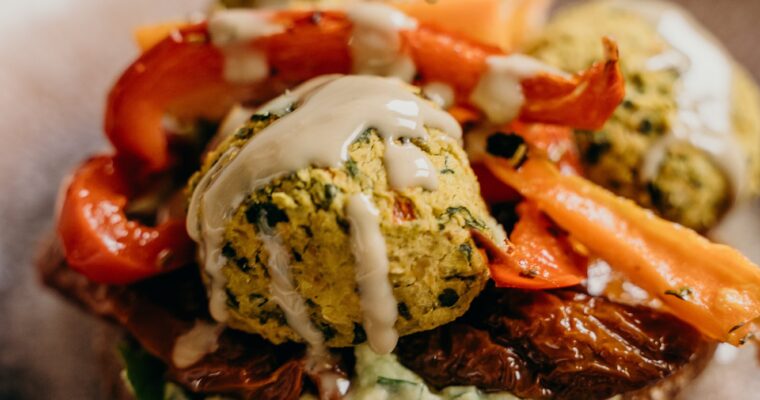
Kofta are like delicious Egyptian meatballs which have been seasoned perfectly to bring out the wonderful flavours of the meat.
Kofta is an absolute favourite with kids as well as adults.
With its popularity it’s great for big family gatherings because it’s guaranteed that just about everyone will love it ( except our vegetarian friends obviously).
It can be made in advance which is a real bonus when you’re hosting, because anything that takes the pressure off is such a blessing in my opinion. It will be ready to pop in the oven just about three quarters of an hour before everyone is ready to eat. And it’ll stay warm ready to serve.
Rice and a mixed salad are ideal accompaniments for kofta especially with a drizzle of garlicky tahini dressing. If you add in warm pita bread there is the option of splitting the pita bread and making a pita bread pocket stuffed with kofta and salad which is easily as good as any take-away and also great for outdoor eating .
The recipe I use now, is one that I have adapted and that I have found to to be a real crowd pleaser. It has loads of flavour but it’s not spicy. Those seeking a hit of chilli, can drizzle hot chilli sauce over, after it’s cooked.
This particular recipe has a few breadcrumbs in it. This helps to retain the juices from the meat which has a lot of the flavour and also keeps the kofta lovely and moist. It does mean that it needs to be cooked in the oven though as it tends to break up if you try cooking it on skewers.
If you find it disappointing that you can’t barbeque these kofta and you think that you’ll miss that wonderful smoky flavour, don’t worry I have a solution for that.
You have the option of smoking them once they’re cooked. Don’t worry you don’t need any fancy equipment or ingredients and it is so simple, you’ll be amazed.
Preheat the oven to 180 degrees C
First put your minced beef into a large bowl & break it up so that when the other ingredients are added it will mix easily.
First put the bread in a food processor and blitz it to form breadcrumbs – alternatively you can grate them. Add this to the minced beef in the bowl.
If you are using onions, drizzle oil into a large frying pan and put it over a high flame to heat up. Add the chopped onions and fry them until they become translucent. Put these into the blender with the egg and blitz them for about 20 seconds. Then add these to the breadcrumbs and meat in the bowl.
Now, add all the remaining ingredients to the bowl. Mix everything together well – this can be done with a large spoon, but I find that nothing beats working everything together with your hands. Keep mixing until the ingredients are all fully blended.
Once everything is very well mixed, it’s time to start forming the kofta.
To make this easy to explain first follow these instructions open your left hand out palm up, then lay the index finger and middle finger of your right hand across your left hand and close your fingers around them – this is about the size your koftas will be.
So, scoop up a spoonful of the mix about the size of a large walnut and lay it across your upper palm – i.e., where the fingers of you right hand were laid. Next close your fingers around it as though you are holding a handle and squeeze the mix and twist it slightly and squeeze and twist to form the kofta. Repeat this process until all the mix is used up.
To bake your kofta in the oven. Lay them in tidy rows on 2 large baking trays.
Put the baking trays into the preheated oven and cook for about 25 minutes. The kofta is cooked when it is browned on the outside. Break one in half to check it is cooked on the inside – it should be brown, and the juices run clear. If the meat on the inside still looks red, cook for a little longer with aluminium foil over the top of it so that it doesn’t dry out.
Now to add the magic. First pile all your kofta onto one baking tray.
Shape some tin foil into a small egg cup shape – double thickness.
Make a space in the centre of the tray and sit the tin foil cup in it.
Set the charcoal alight by holding it over the gas flame for a few minutes. When the coal begins to glow blow out the flame.
Drizzle a little oil into the tin foil cup that you have just made and then put the charcoal in the oil.
Quickly cover the baking tray with kitchen foil and close it tightly to stop the smoke from escaping and smoking out your kitchen. Allow it to smoke for 5 minutes.
Keep the baking tray in a warm place, putting it back in the warm oven for a few minutes, is a good option.
Cover the kofta with aluminium foil until you are ready to serve them – this will keep them warm and stop them from drying out.
As I said, kofta are incredibly popular and they are perfect accompanied by rice, a mixed salad and a drizzle of tahini dressing. You could also serve warm pitta bread, humus. Garnish with fresh coriander leaves if you choose. A few olives or marinated chargrilled red peppers are really good to serve as a side dish with your kofta if you wanted a little extra.
I do hope you enjoy making kofta using this recipe.
You have to try this recipe. It’s so good and it never fails to bring big smiles to everyone’s face.
Let me know how it goes. I love seeing your photos.
If you love smoky barbeque flavours another great recipe to try is Chicken Shawarma. It’s phenomenal.
Click the link to get the recipe.

Chicken Shawarma Chicken Shawarma is a well-loved Egyptian Street Food Chicken shawarma is one of Egypt’s favourite street foods. But it’s a real treat to have at home as well. It’s incredibly tasty, with every bite packed with flavour. What can I say? It’s a …