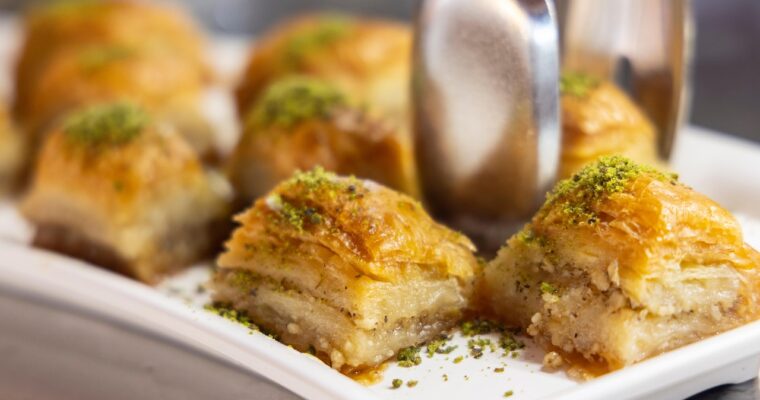
Baklava Boukage
Baklava Boukage is a delightful pastry; a variation of classic baklava—simpler to prepare yet equally delicious. Try this easy recipe and be delighted with the result.
authentic Egyptian recipes
Baklava Boukage is a delightful pastry; a variation of classic baklava—simpler to prepare yet equally delicious. Try this easy recipe and be delighted with the result.
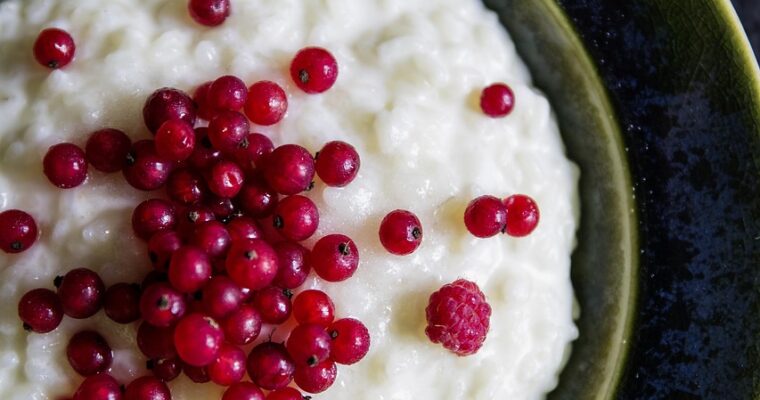
This is Rice Pudding like you’ve never tasted before: A delicate and refreshing twist on a classic dessert, this Chilled Rose-Scented Rice Pudding is infused with the subtle floral notes of rose water and boasts a silky, creamy texture.

Ramadan Sohoor is one of the most important meals for those fasting during Ramadan.
Eaten just before sunrise, it provides essential nourishment and energy to sustain those Fasting throughout the day.
This pre-dawn meal helps prepare the body and mind for the fast ahead, ensuring better endurance and well-being.”
Ramadan is one of the most significant and sacred months in the Islamic calendar. It is a time of fasting- fulfilling one of the five pillars of Islam – while fostering spirituality, self-discipline, gratitude, and empathy.
Fasting during Ramadan takes place from sunrise to sunset. During these hours, Muslims abstain from food, drink, smoking, and marital relations. Beyond physical restraint, fasting encourages mindfulness, patience, and self-reflection.


Ramadan is a time of joy and unity. Streets are adorned with colorful festoon lights, creating a festive atmosphere that brings families and communities together.
Before the fasting day begins, families wake early for Sohoor, a nutritious pre-dawn meal designed to sustain them throughout the day. A well-balanced Sohoor includes high-protein and healthy fat-rich foods for lasting energy, while avoiding excessive salt to prevent thirst and minimizing sugar to maintain stable blood sugar levels.
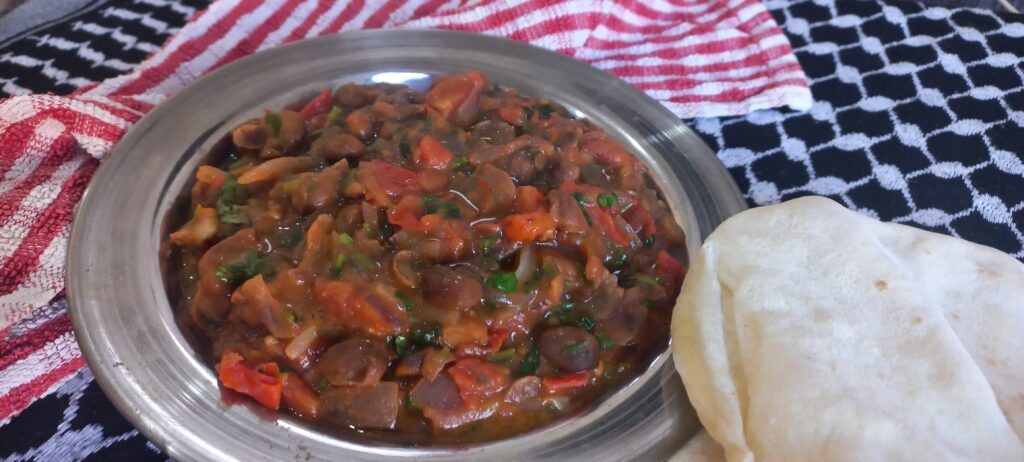
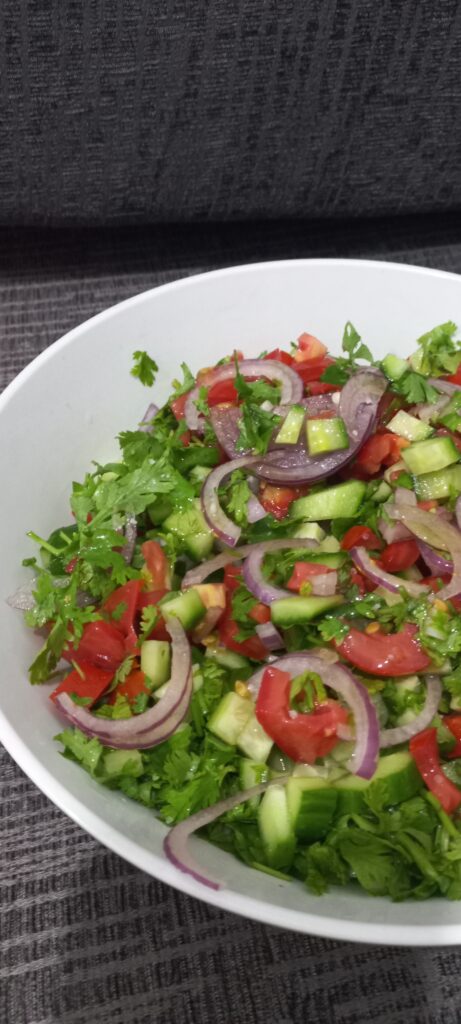
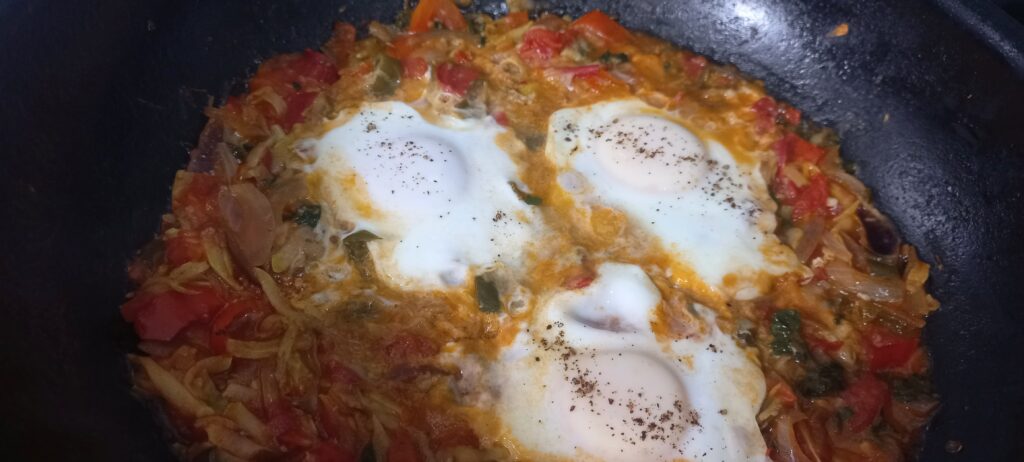
In Egypt, Sohoor resembles a mezze-style breakfast, consisting of a variety of delicious and nourishing dishes. A typical Egyptian Sohoor includes:
To help you prepare a traditional Egyptian Sohoor, our featured recipes include:
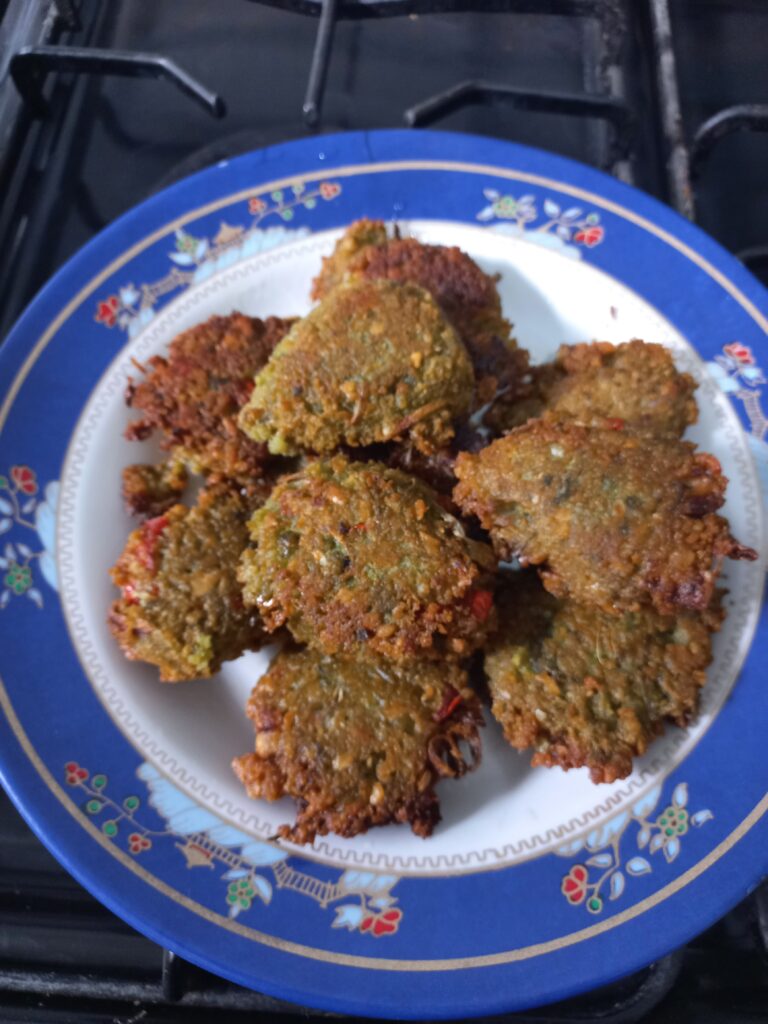
Falafel the most popular street food in Egypt

Tasty pickles
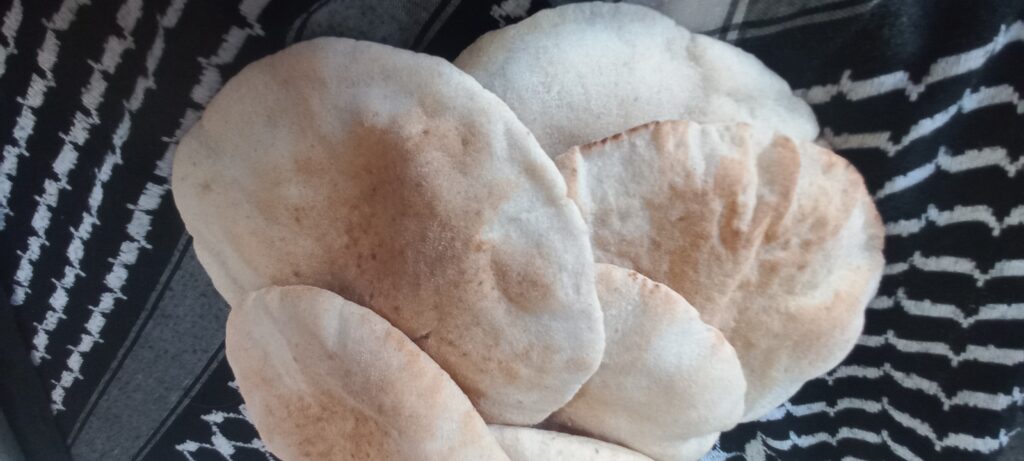
All eaten with delicious, warm flatbreads.
Whether you’re observing Ramadan or simply exploring Middle Eastern cuisine, these dishes offer a taste of tradition and nourishment. May this Holy month bring peace, reflection, and togetherness to all who celebrate.
Ramadan Sweet Treats are very much part of the Ramadan celebrations. In Egypt, the arrival of Ramadan brings not only a spiritual atmosphere but also the irresistible aroma of sweet treats wafting through homes and bustling streets. In the evenings, street vendors line the roads …
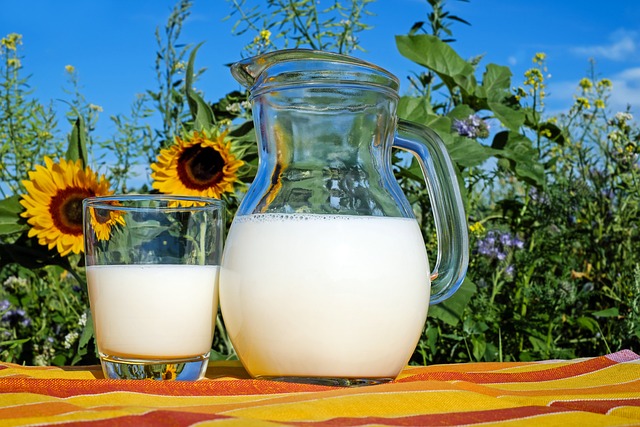
Making homemade yogurt is easier than you might think and requires just a few ingredients. Not only is it a cost-effective alternative to store-bought varieties, but it also allows you to control the ingredients, flavours, and consistency to suit your taste.

Ramadan Iftar drinks are so special. After a long day of fasting, a refreshing cold drink feels like a true blessing. While water is essential for quenching thirst, offering something a little extra adds a special touch.
As previously mentioned, Ramadan is an incredibly significant celebration in Egypt and the Islamic world.
Fasting begins before daybreak and continues until sunset, during which no food or drink is consumed. So, the drink served at Iftar is trully cherished.
Here are some popular drinks often enjoyed as Ramadan Iftar drinks:

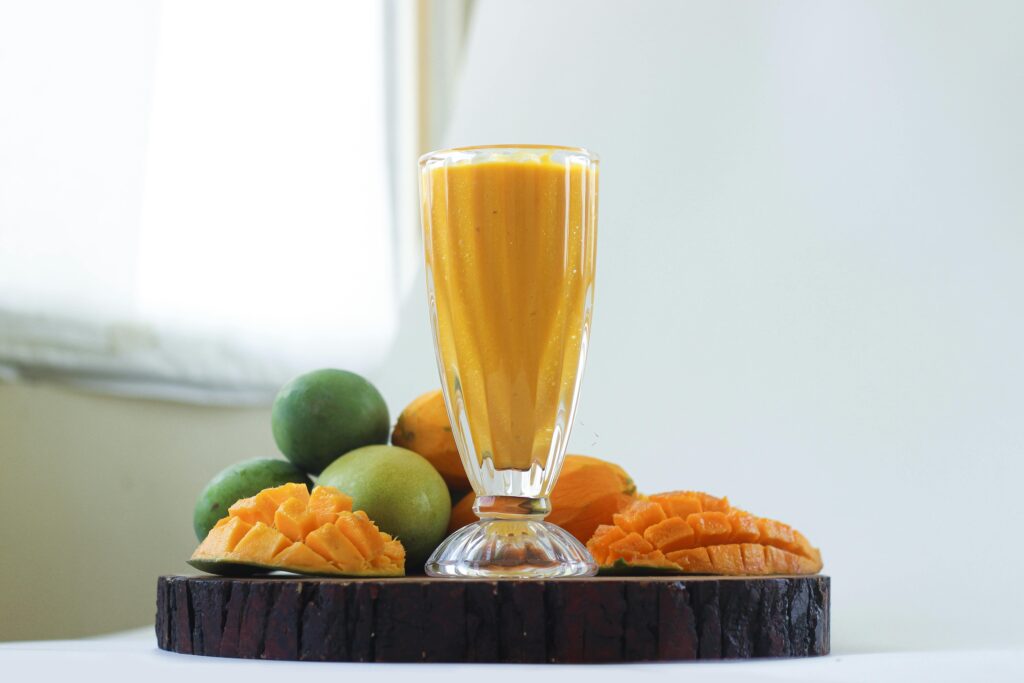

These beverages not only help rehydrate after fasting but also bring comfort and joy to iftar, making them cherished staples of Ramadan celebrations.
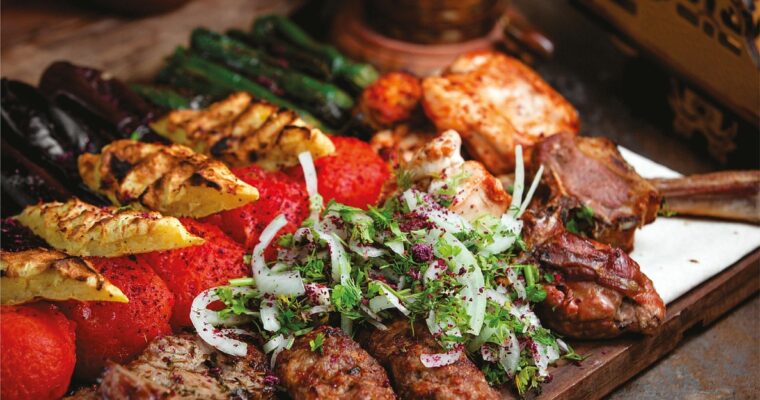
Iftar meals for Ramadan need to be both easy to prepare in advance and guaranteed crowd-pleasers. Check out these fantastic recipes.

Sobia – A creamy coconut-based drink, loved for its unique flavor and texture. Made by blending coconut milk with rice flour, sugar, and a touch of vanilla.

Dried fruit compote drink, known in the Middle East as Khoshaf, is often enjoyed during Ramadan as a nutritious and naturally sweet way to break the fast. It requires no cooking, as the dried fruits are soaked until plump and juicy, creating a naturally sweet and flavourful drink.
(Serves 4-6 people)
Khoshaf is not only delicious but also packed with nutrients, making it a perfect energy booster. Enjoy!
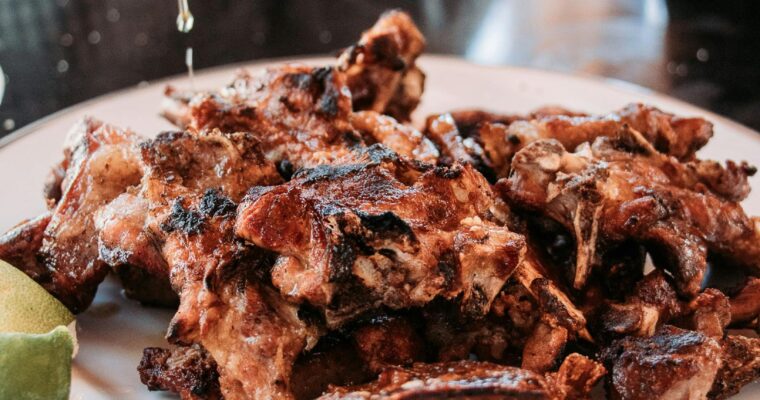
Barbecued Leg of Lamb This recipe for Barbequed Leg of Lamb is phenomenal; perfect for a special barbecue or as an exciting alternative to the traditional Sunday roast. The blend of aromatic spices and the tenderising yoghurt marinade results in melt-in-the-mouth lamb with deep, smoky …