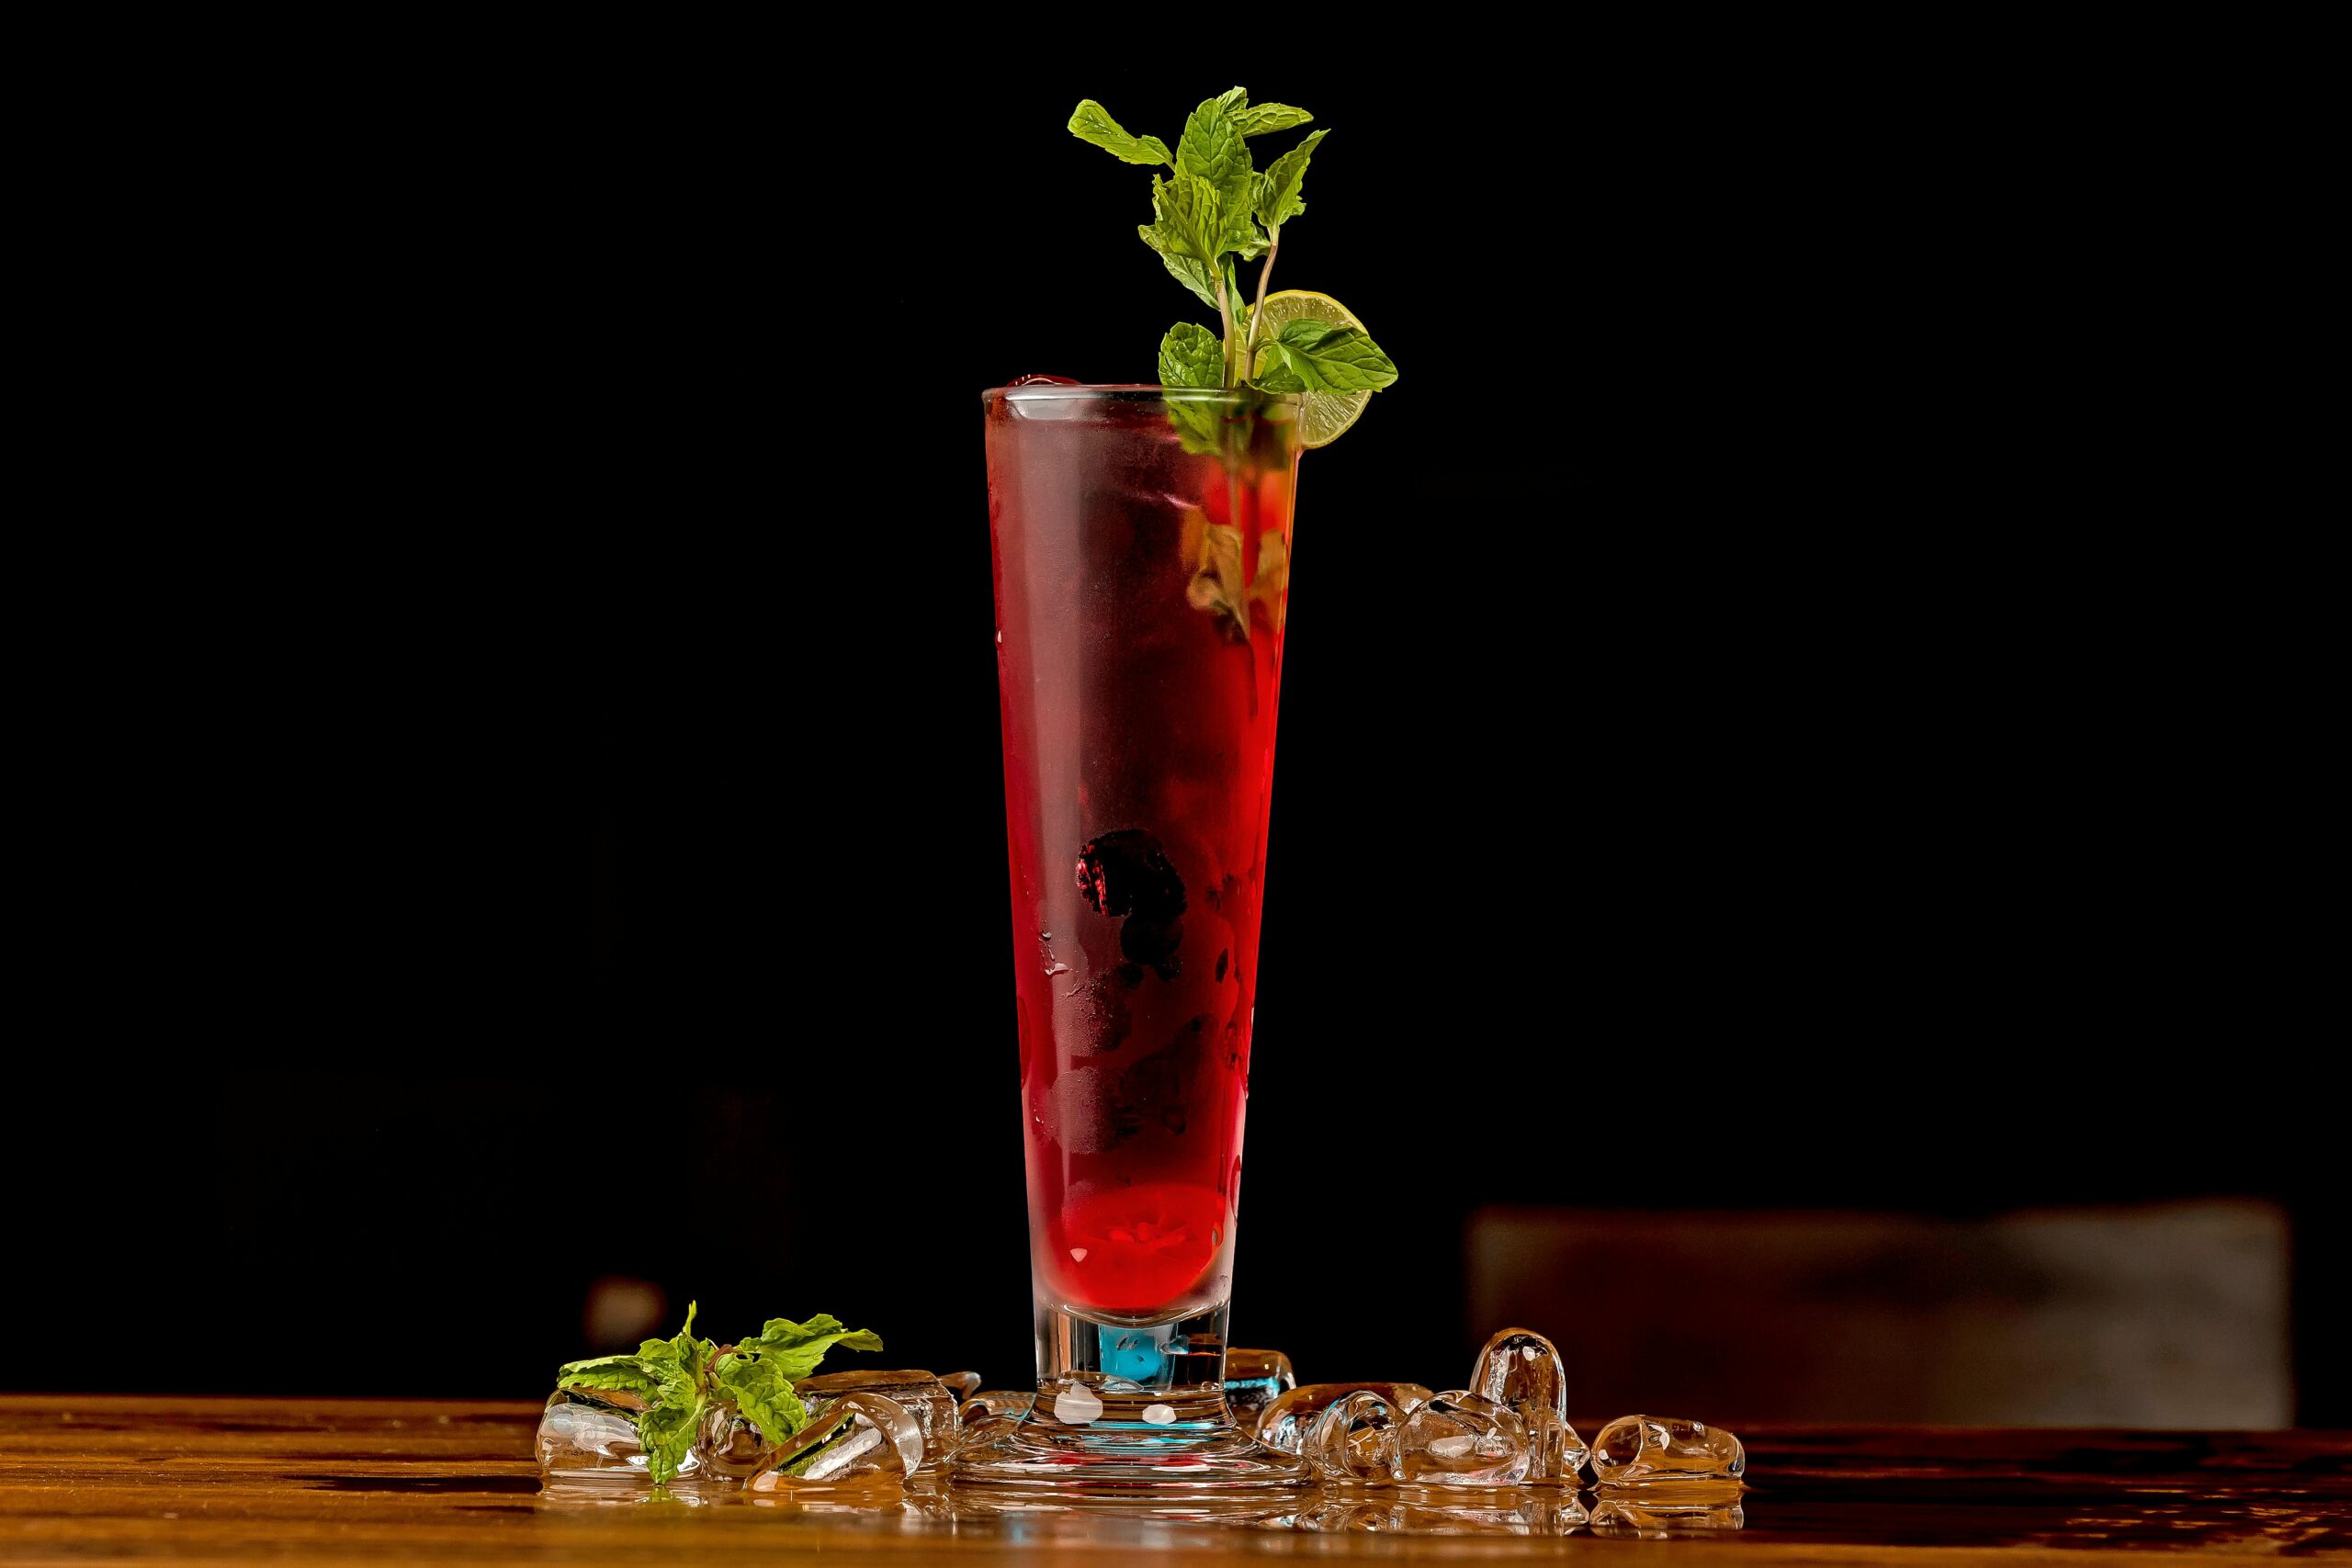
blogs

Mango Yoghurt Drink

Mango Yoghurt Drink

Mango Yoghurt Drink Mango Yoghurt Drink Mango Yoghurt Drink is a deliciously, rich, silky smooth drink with the gloriously exotic taste of mangoes. The best drink ever when mangoes are in season. A chilled mango yoghurt drink is a real treat When it’s hot outdoors 

Pickled Turnip

Pickled Turnip

pickled turnip with beetroot Pickled turnip is a favourite side dish on any table in Egypt.  Pickles are served with just about every meal over there; breakfast, lunch and dinner. They’re also wonderful popped into a kebab or a falafel sandwich, much as you would 

Goat Stew

Goat Stew

Goat stew

Goat Stew – what can I say? For such a long time I avoided eating goat.  I’m not keen on goats’ cheese and for some reason I thought goat meat would have the same kind of ‘farmyard tang’ to it. I thought that was why people use it in curries. 

How wrong I was!  Goat stew is really good – it’s very similar to lamb stew but much less fatty. Now I’m a total convert and this recipe has become a firm family favourite.

Long, slow cooking renders the Goat Stew beautifully tender

This recipe cooks the meat long & slow rendering the meat so tender that it simply slips off the bone & can be cut with a spoon. It produces the most glorious, thick, rich stock which can be served as a really delicious soup without the need to add anything further.

Goat Stew is a firm family favourite

As the recipe says, you can add a pinch of chilli (or even a little more) if you choose it’s entirely up to you. Either way I’m sure this recipe won’t disappoint, it truly is a firm family favourite in our household.

These quantities will provide a good meal for up to about 4 people

Preparation time about 20 minutes

Cooking time about 2 – 2 ½ hours

Ingredients

  • 1.5kg goat meat on the bone or 1kg off the bone (ask your butcher to chop these into large chunks)
  • a little vegetable oil for frying
  • 1 tbsp ghee (clarified butter)
  • 2 medium onions, thinly sliced
  • 2 tomatoes – grated
  • 1 carrot – grated
  • 3 bay leaves
  • 5 garlic cloves, finely chopped or grated
  • 1 tbsp. ground cumin
  • freshly ground black pepper
  • a pinch of dried chilli flakes (optional)
  • 750 ml stock – (lamb, chicken or vegetable)
  • a small handful of fresh coriander leaves – chopped

Instructions

First brown the meat for your goat stew

Put a large frying pan over a high flame on the stove to heat up.  When it is sizzling hot, fry the meat a few pieces at a time and add a drizzle of oil to sear (brown) them giving them a lovely rich colour.  When one lot is browned take them out and put them into a large pan and continue to fry the next few pieces.

*If you add too much meat at one time the temperature of the pan will drop and rather than of browning the meat, they will start to lose moisture and instead just start to boil and go more of a grey colour.

Deglaze the pan

Once they are all browned add a little water to the frying pan to de-glaze the pan (to get all the tasty juices off the side of the pan). And then add this to the meat. Put the big pan over a medium flame on the hob.

Sauté the onions

Add the ghee and the onions . Sauté them until they begin to soften. Then add the garlic, tomatoes and carrot.

Add all the remaining ingredients to the pot

Add the spices, and stock.

You need to make sure the meat is covered with liquid.

Bring the mixture to the boil and then reduce the heat down to a low simmer. 

Simmer your goat stew gently

Cover the pan and continue simmering for about 1½ – 2 hours. Checking it about every half hour to make sure it has adequate liquid – add a little more water if necessary.

To check when the meat is cooked, get a piece of meat out of the pan, and put it on a plate, if it’s ready you should be able to cut through it easily with just a spoon.

Stir in the chopped herbs shortly before serving.

Goat stew is delicious served with Egyptian Rice or Potato Layer Bake – click on the links for recipes below.

I do hope you’ll try this recipe I’m sure you’ll be pleasantly surprised. Let me know what you think.

Chicken Egyptian Style

Chicken Egyptian Style

Chicken Egyptian Style – Poached (and then cooked in butter) chicken Chicken Egyptian Style ensures the meat is always moist and flavoursome, and the skin is beautifully buttery and crisp. It can therefore be likened to the French classics Duck Confit and Chicken Confit. The 

Potatoes in Batter

Potatoes in Batter

Potatoes in Batter: Soft and fluffy on the inside with a gorgeous crispy batter on the outside. Especially popular with Kids.

Cheese breads

Cheese breads

Cheese breads

Cheese breads are very popular in Egypt and can be found in just about every bakery. It’s wonderful bread.

The bread itself is delightfully light almost a cross between a bread and a pastry.  Combine that with a delicious salty cheese and herb filling and it brings the bread to life.

No endless kneading required !

Although they look quite fancy , they really are incredibly easy to make. You don’t need to do anything complicated. No need to Knead for ages.

You just need patience

All it takes is patience. You have to give the dough time to rise up in all its glory.

You don’t need a fancy bread making machine.

You don’t even need fancy bread-making flour, it’s made with ordinary plain flour, which you probably already have in your kitchen cupboard.

They’re great as a snack. I love them for breakfast. They’re also great with soup.

There are other alternatives

I’ve also made them replacing the the cheese filling with a dollop of Nutella and they were amazing too.

This recipe for cheese breads is the best !

I’ve been making cheese breads for so long and yet I’m still amazed at how good they look when they come out of the oven.  For so long I had utter failures with bread and yet this recipe is so forgiving and seems to work every time and you don’t even need to spend time kneading it.  It just works!

Never argue with your dad!

My dad said it’s possibly the best bread he’d ever tasted, and I would never want to argue with my dad.

Ingredients

  • 1 cup warm milk
  • 1tbspn sugar
  • 1 tbsp. dried yeast
  • ½ cup vegetable oil
  • 1 egg
  • 2 tsp. salt
  • 1 tbsp. butter (optional)
  • 4 cups plain flour

For the filling

  • 200g feta cheese
  • a handful of fresh herbs (flat leaf parsley or dill) finely chopped – (optional)
  • 1 egg – lightly whisked

To finish your cheese breads

  • 1 egg yolk
  • black cumin / sesame seeds 

Equipment needed

You’ll need 2 large baking trays – lightly oiled

How to make your cheese breads

Let the yeast start the magic

Put the warm milk, sugar, and yeast together in a bowl give them a quick stir and then leave them for about 10 minutes until they start to bubble.

Add the wet ingredients

Add the vegetable oil, egg, salt, and butter to the yeast mixture and mix well.

Now for the flour

Put the flour into a large bowl and make a hollow in the centre.

Pour the yeast mix into the hollow that you have made.

Stir the yeast mix and gradually the flour will come in from the sides and start to mix in and form a soft dough.

*if the dough feels too sticky to handle add a sprinkle of flour – but not too much you want the dough to stay as light as possible.

 * if the dough feels too hard and dry add a teaspoon of water to loosen it up

Knead for just a minute

Once all the flour has been incorporated, knead the dough for a minute just to bring it together into a smooth ball.

Put the dough somewhere nice and warm to rise.

Pour a drop of oil into your hands and rub it over the dough.

Put the dough back into the bowl, cover it with a lid or cling film and leave it in a warm place until it doubles in size, this will take about an hour.

Mix the filling for your cheese breads

Meanwhile mix together the feta cheese and herbs(if you have chosen to use them) with the whisked egg ready to stuff the bread.

Knock back the dough

When the dough has doubled in size, tip it out onto a floured surface and knead it for just a couple of minutes to knock out a little of the air and to bring it together into a smooth dough again.

Ok let’s make these beautiful cheese breads

Divide the dough into 2

Pre-heat the oven

Pre-heat the oven to 180 C / 350 F

Knead your dough into a smooth ball

On a lightly floured surface, take the first half of the dough and bring it together into a smooth ball.

Roll out your dough into a large circle, that looks like a pizza

Using a rolling pin – Roll the ball of dough into a large circle, about 14”across.

Slice it like a pizza

Cut the dough (like you would a pizza or a cake) into 8 portions

Add the filling for your cheese breads

Put a spoonful of the cheese and herb mix on each portion, where the numbers would be on a clock.

Roll your cheese breads to look like croissants

Take a portion at a time and starting from the outside of the circle, take the two outside corners and bring them together and forward over the cheese. Then continue rolling it forward until you reach the centre (it will look similar to a croissant).

Roll each portion in the same way until all 8 portions are rolled.

Repeat the process

Take the second ball of dough and repeat this process until all the 16 cheese breads have been stuffed and rolled.

Put them on baking trays

Put your rolled cheese breads onto the prepared baking trays. Leave about a 3cm space between your breads because they will get bigger.

Prepare your beautiful cheese breads for baking

Using the mixed egg yolk as an egg wash, brush it over the bread.

Then sprinkle them with black cumin seeds or sesame seeds.

Allow your breads to rise again

Cover your cheese breads with a clean tea towel. And allow them to sit in a warm place for about ½ an hour. During this time the breads will begin to puff up again and rise.

Pop them in the oven

Put your breads into the oven and allow them to cook for about 20 minutes until they are golden brown.

Be prepared to be blown away at just how good your beautiful cheese breads look !

Cheese breads are at their best eaten the same day or the day after.  In my experience, the family seldom even let them last that long, they are so popular.

I do hope you’ll try this recipe. I guarantee that you’ll be amazed at just how good they are.

Share your photos too it ‘ll be great to see how you got on.

Okra with Beef

Okra with Beef

Okra with Beef Okra with beef is a popular dish in Egypt; a wonderful combination of tender beef and baby okra. In Egypt, Okra is known as bamya and it’s a very popular vegetable. In England it’s also sometimes known as ‘Ladies’ Fingers’. Stewing beef 

Beef with Peppers and Cannellini beans

Beef with Peppers and Cannellini beans

Beef with red peppers and Cannelini:
Slow cooked to produce beautifully tender beef in a deliciously rich sauce. Spiced to perfection – always a winner!

Egyptian rice with onions

Egyptian rice with onions

Egyptian rice with onions

Egyptian rice with onions is such a tasty dish. The onions and the stock pack in so much flavour that I could quite happily eat this just on its own.

Egyptians only eat Egyptian Rice with onions with fish

However, Egyptian rice with onions is only ever served with fish in Egypt.  I once made the mistake of serving it with meat when my husband’s family came round for dinner and I couldn’t understand what all the commotion was all about (my Arabic at the time was extremely limited). It turned out that it was because I had broken with the rules of convention and made this great blunder. 

I must say Egyptian are very set in their ways when it comes to their food, they have certain rules about what foods should accompany others and exactly how things should be prepared, otherwise things are considered foreign and strange.

Any way mistake noted, I won’t be doing that again – well at least not when people are coming round.  I personally think it’s really tasty and could go with a multitude of dishes.

Ingredients

  • Vegetable oil for frying
  • 2 mugs Egyptian rice (or long grain rice if you can’t get hold of Egyptian rice)
  • 2 onions finely chopped or sliced
  • 3 stock cubes – grated
  • 3 mugs boiling water

Let’s make Egyptian Rice with Onions

Put 3 tbspns of oil into  a large pan and put it over a high flame to heat up.

first brown the rice

When the oil is sizzling add the rice and fry it until it begins to brown – stirring frequently. 

add the onions

Then add the onions and stock cubes, and season well with freshly ground black pepper.

For the next stage PLEASE BE VERY CAREFUL – I would advise you to wear an oven glove on the hand you are pouring from and keep your face well back – the first lot of liquid you add to the hot rice and oil will shoot hot steam up like a full blown volcano so be warned.  The first time I did it I had the scare of my life.

carefully add the hot liquid

So now you need to add the 3 mugs of boiling water to the rice.  As I said be careful.

Stir the rice and onions quickley then put the lid firmly on the pan and reduce the heat down to the lowest heat possible and cook for 12 more minutes.

Turn off the heat but keep the lid on the pan and allow the rice to finish cooking in its own steam for a further 5 minutes.

Then fluff up your rice and it is ready to serve.

Traditional accompaniments for fish

As I said Egyptians would only serve this with fish.  I would therefore suggest to have it with some delicious grilled fish such as sardines or mackerel. With small plates of salata baladi, hummus, baba ghanough and tahini on the side and plenty of Arabic flat bread for dipping. This makes a very tasty meal and it is the way fish is traditionally served in Egypt.

Try it out and let me know what you think.

Zalabya

Zalabya

Zalabya: Deliciously sweet bathed in syrup. One of Egypts favourite Arabic Sweets.