Home-made Yoghurt
How to make Home-made Yoghurt: A Simple Guide
This is one of those recipes that once you’ve tried it you’ll wonder why you ever bought shop bought. Admittedly you do need a portion of yoghurt to get you started though.
Making homemade yogurt is easier than you might think and requires just a few ingredients. Not only is it a cost-effective alternative to store-bought varieties, but it also allows you to control the ingredients, flavours, and consistency to suit your taste.
Ingredients:
- 4 cups (1 liter) of milk (whole or low-fat)
- 2 tablespoons of plain yoghurt with live active cultures – I like to use Greek yoghurt as this has a beautifully mild flavour.
Instructions:
- Heat the Milk: Pour the milk into a saucepan and heat it over medium heat until it reaches about 180°F (82°C). This helps to kill any unwanted bacteria and improve the texture of the yogurt. Stir occasionally to prevent scorching.
- Cool the Milk: Remove the saucepan from the heat and allow the milk to cool to about 110°F (43°C) (warm bath temperature – not hot). This is the ideal temperature for adding the yogurt starter without killing the beneficial bacteria.
- Add the Starter: In a small bowl, mix the live culture yogurt with a few tablespoons of the warm milk, then stir this mixture back into the rest of the milk.
- Incubate the Yogurt: Pour the mixture into a clean container and cover it. Keep it in a warm place (such as an oven with the light on, a yogurt maker, or wrapped in a towel) at a stable temperature of about 110°F (43°C) for about 8 hours. After about 8 hours the milk will have turned to a beautiful, creamy, semi-set yoghurt.
- Check and Refrigerate: Once the yogurt has thickened to your desired consistency, transfer it to the refrigerator and let it chill for at least 2 hours before serving.
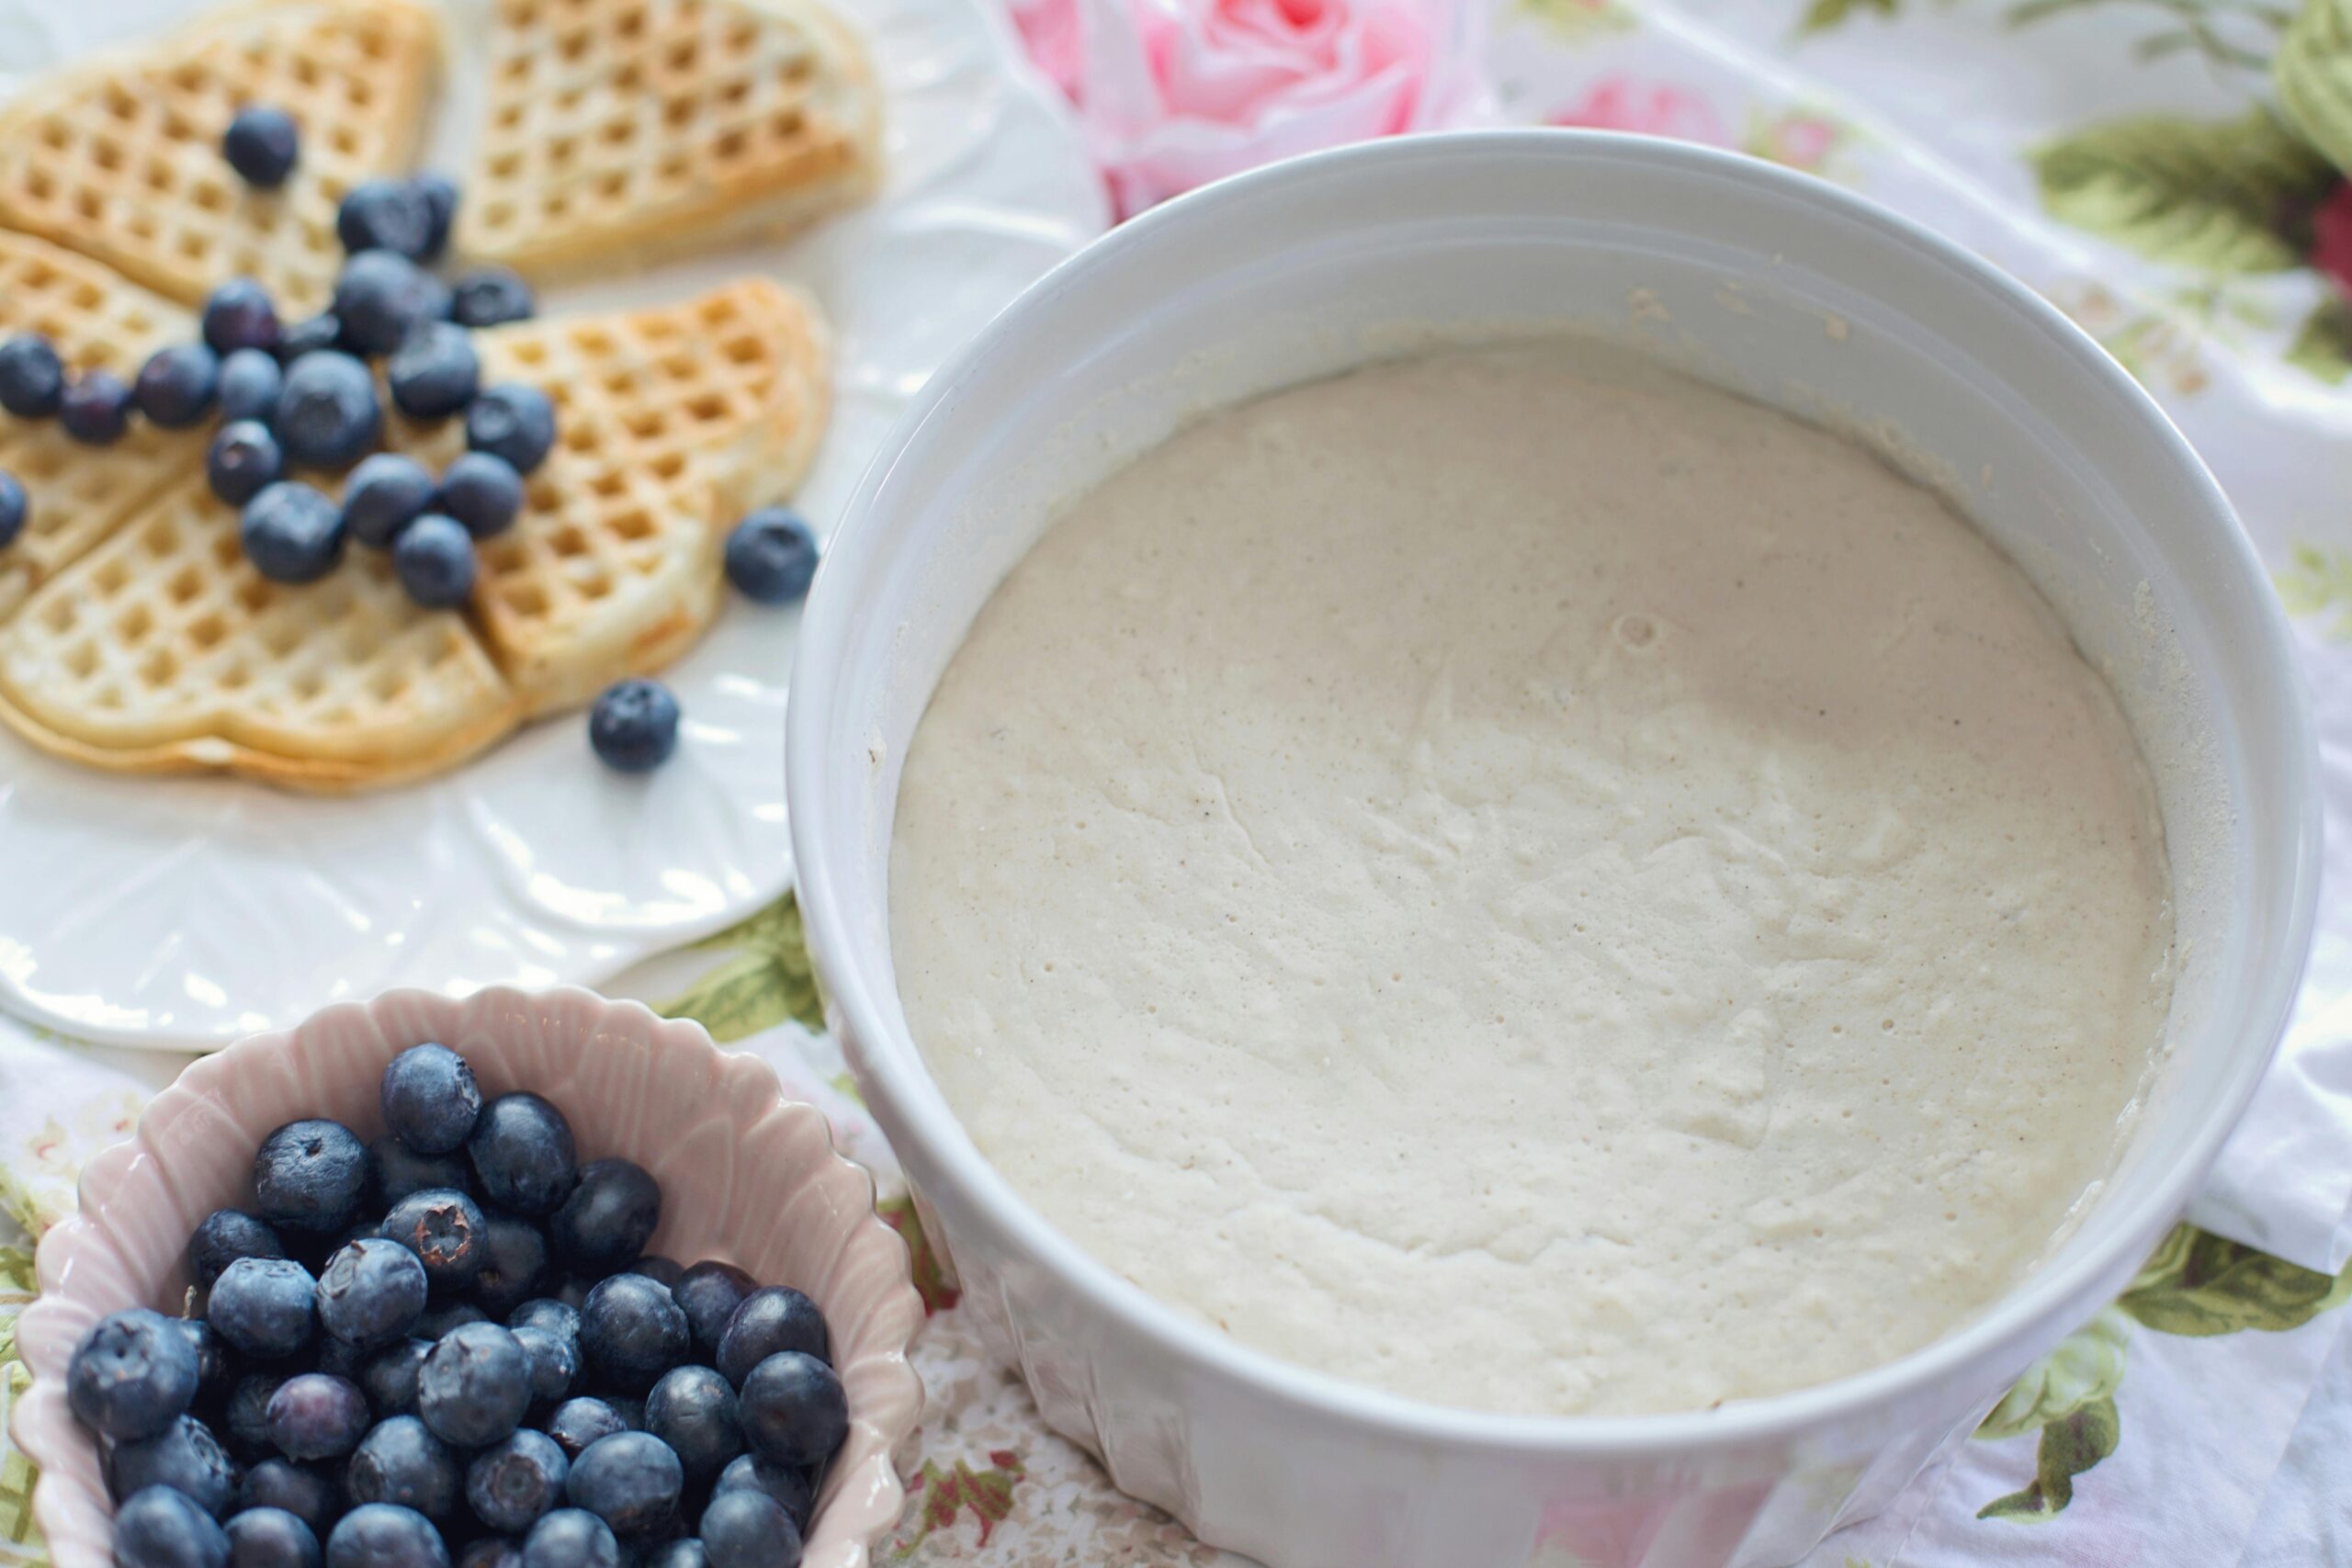
Enjoy your home-made yoghurt on its own or top it with a few berries or a little muesli and just a dash of honey. Either way it’s delicious!
Tips for Perfect Home-made Yoghurt:
- Use high-quality milk for the best flavour and texture.
- Avoid long-life milk, as it may not set properly.
- For a thicker yogurt, strain it through a cheesecloth after refrigeration to remove excess whey.
- Save a few tablespoons of your home-made yoghurt to use as a starter for your next batch.
Benefits of Home-made Yoghurt:
- Healthier: No artificial additives, preservatives, or excess sugar.
- Cost-effective: More affordable than store-bought yogurt.
- Customizable: Adjust the flavour, thickness, and sweetness to your preference.
- Probiotic-rich: Supports gut health with beneficial bacteria.
With this simple method, you can enjoy fresh, creamy, and delicious home-made yoghurt anytime!